In this article, I will show you how to build a DIY grow tent under $300. I wanted to show you all that regardless of how expensive your equipment is, you can still successfully grow cannabis from start to finish.
Although nicer equipment can come with beneficial perks that can yield better results, weed has been growing for many years with nothing but soil, sun, and water alone.
This blog post is dedicated to those on a budget, just starting or who find themselves getting stressed out at a long list of equipment and expensive costs. The budget for this grow tent is approximately three hundred dollars give or take.
You will find links to all the items at the end of this article.
So, let’s start!
Contents
How To Build Grow Tent From The Ground Up
Equipment
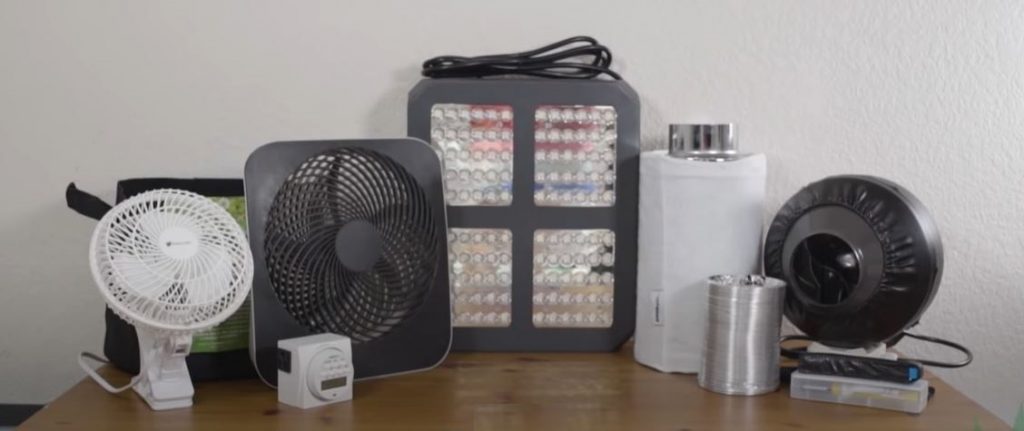
Lights
The light we will be using is a Vivo Sun 600 watt full-spectrum LED. This light covers a 3×3 foot veg at 32 inches and 2 ½x2 ½ foot flowers at 24 inches, making it the perfect fit for our tent.
Filters
For ventilation, we will be using the pre-made Vivo Sun fan and filter kit. It comes with a 203 CFM inline 4-inch fan with a carbon filter, eight feet of ducting with hose clamps, and a speed controller to manually adjust the fan.
Grow tent
I’ll go with a TopoLite 32×32 inch mylar grow tent.
Monitors
We will also need a pH and TDS monitor, which will ensure our medium and feeder at the correct levels throughout the plant’s life cycles.
Fans
We will be using two fans for this grow. First up is an O2COOL 10-inch fan to push the air around towards the bottom of the tent. The second fan is a 6-inch Avalon to push the air exhausting from the LED light, up towards the exhaust system.
Pots
We will be using five-gallon fabric pots by Vivo Sun, and last but not least, we will need the ACURITE environmental monitor to check the temperatures and RH levels.
Timer
Not included on the list is a timer. If you are growing Autoflowering cannabis strain, you won’t be needing a timer. But if you plan to go with photos or different light schedules, then don’t forget to pick one of these up.
Other essentials
To start this build, you’ll also need:
- Metal ducting tape
- A Flathead screwdriver to tighten the duct clamps
- Scissors to cut the ducting
- A wire cutter to cut the wire
Now that we have everything. Let’s build the Grow tent.
Installing The Exhaust System
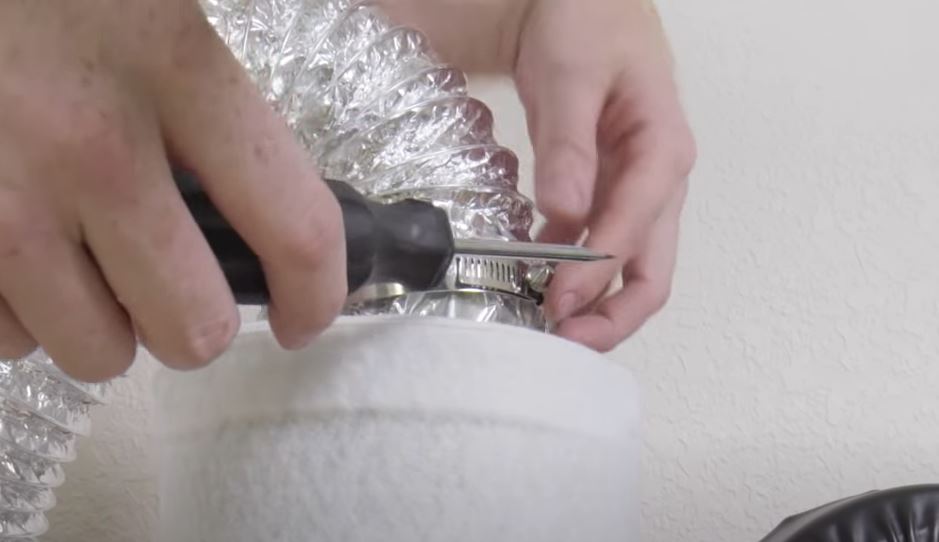
First things first, we are going to install the exhaust system. Start by attaching the 4-inch ducting onto the carbon filter with the duct clamp loosely fitted on it.
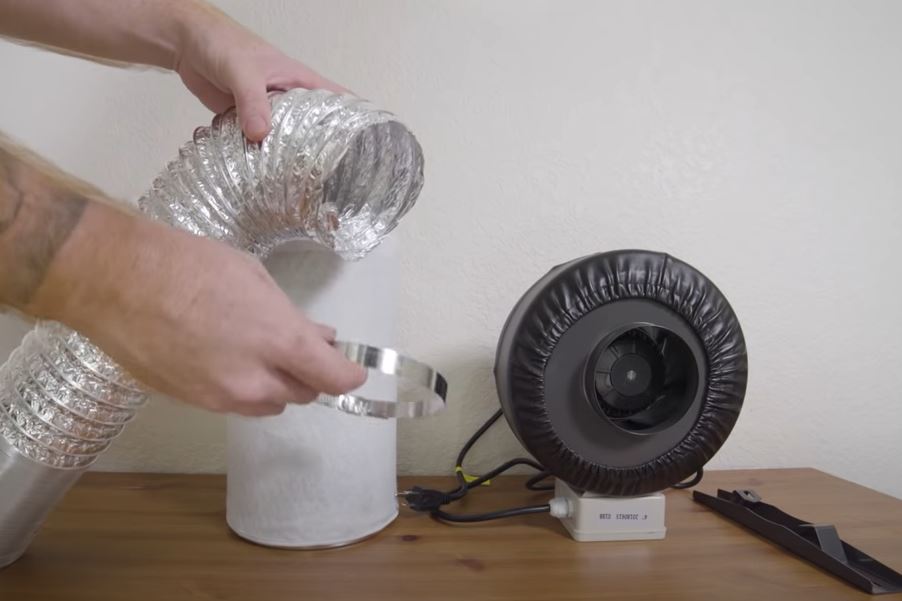
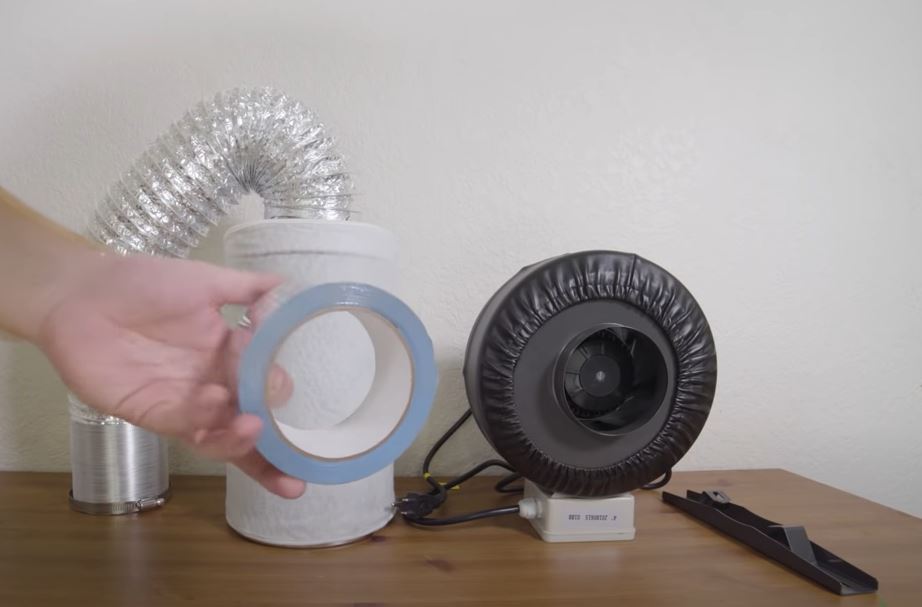
Place a metal tape to help seal and hold it in place, then put the hose clamp to secure it to the carbon filter tightly.
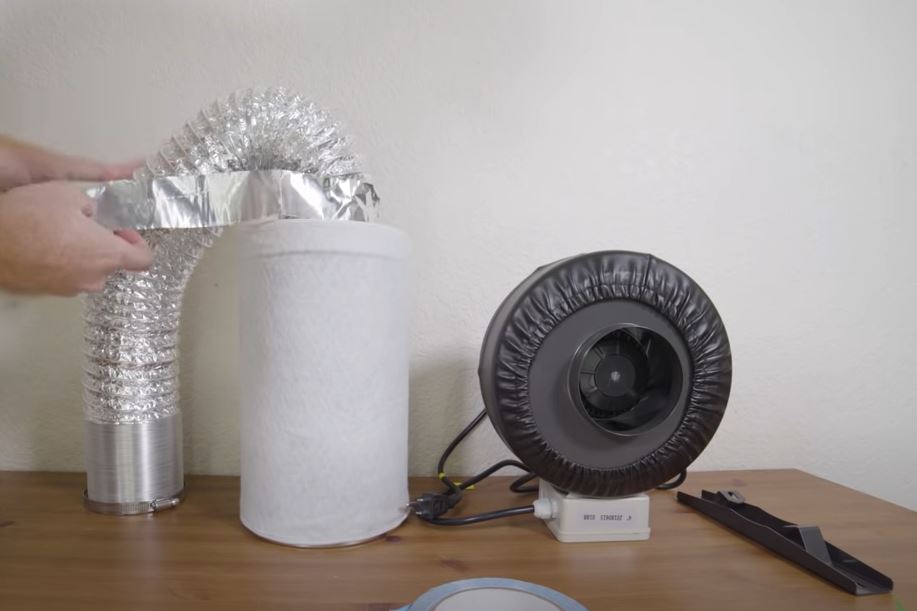
Hanging The Filter
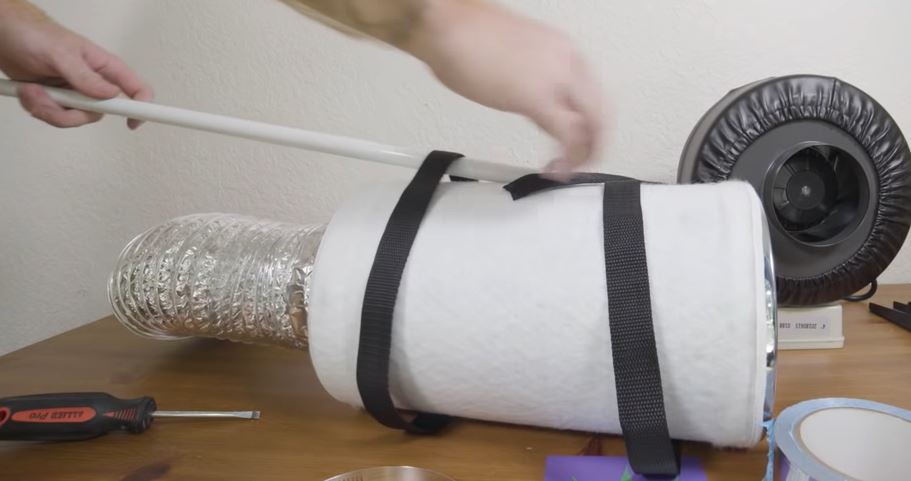
There is a trick I would like to share with you guys to ease the process of hanging the filter. Remove the top support bars from the tent and attach it to the carbon filter first before installing it.
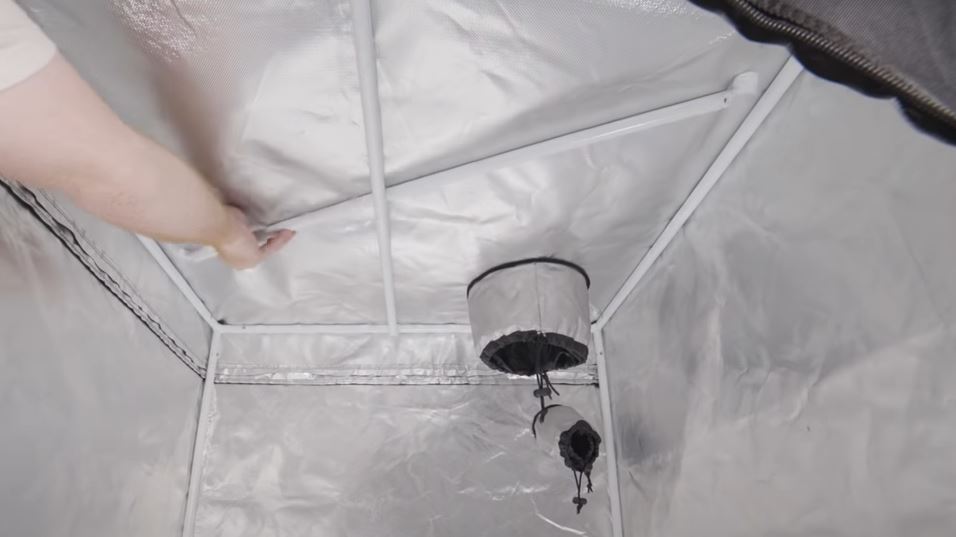
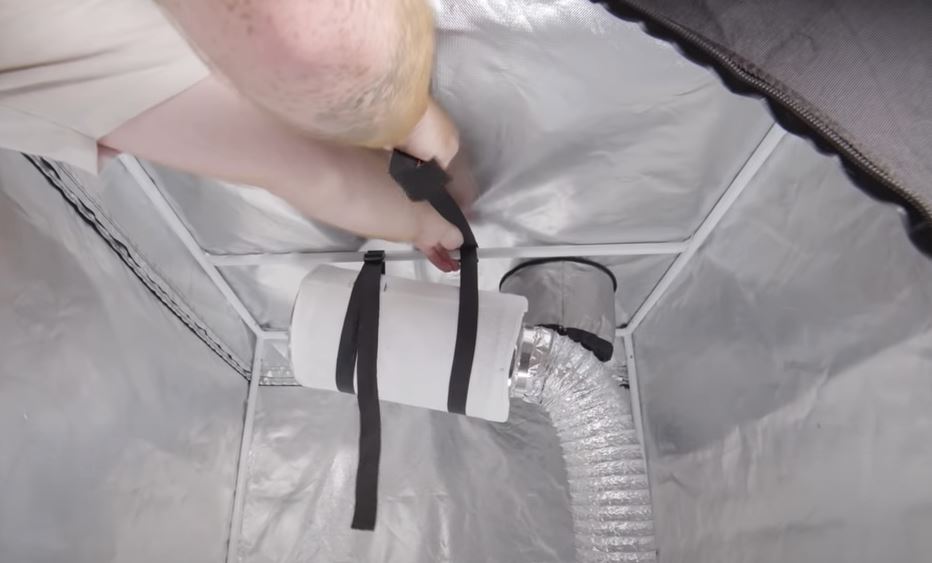
Once you hang the carbon filter, pass the ducting up through the port at the top of your tent.
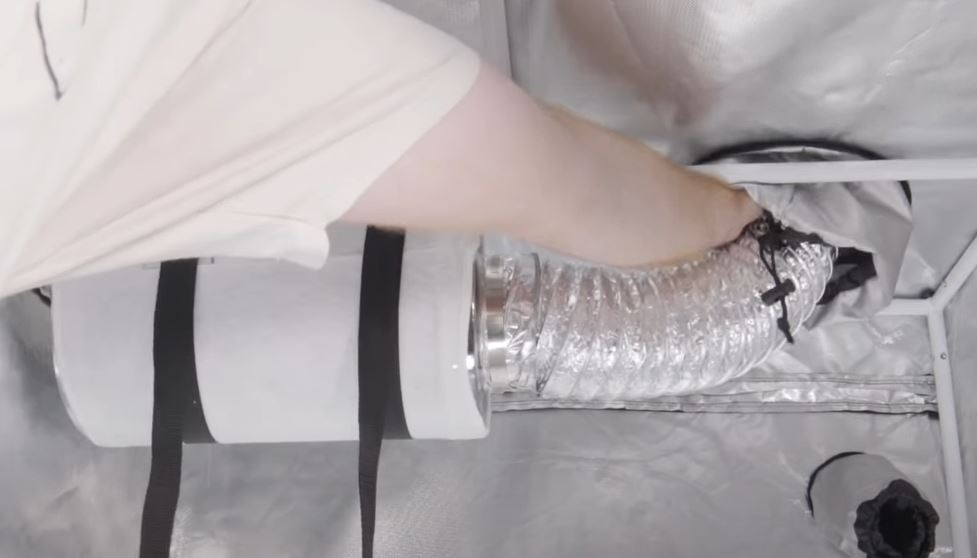
Setting Up The Exhaust Fan
Once you hang the filter, cut the ducting to size, and install it onto the inline exhaust fan. Attach the hose clamps first then seal over with metal tape after.
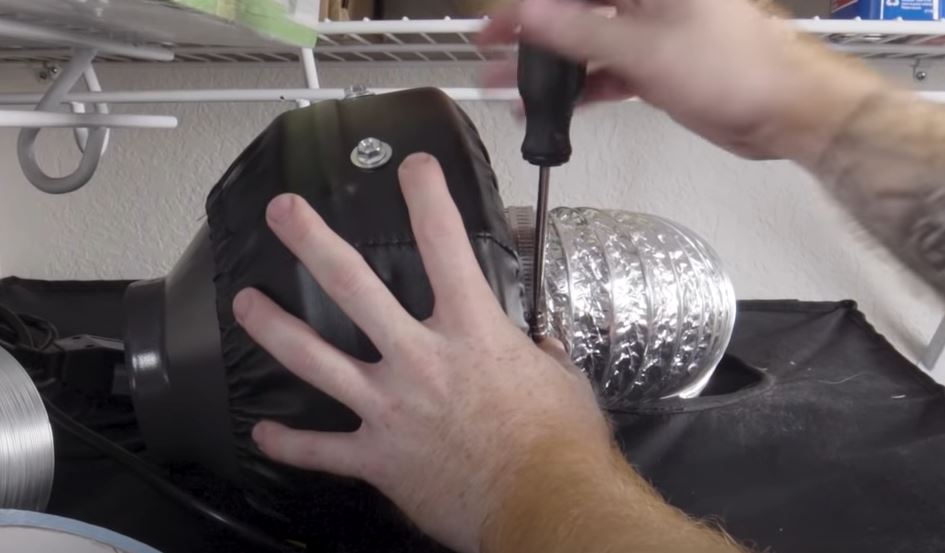
Depending on your living situation, it will be up to you how you will exhaust the air out of your room. Some like to pass the exhaust hose up through the pre-drilled holes in their roof. It allows them to exhaust into their attic without having to drill holes into the drywall.
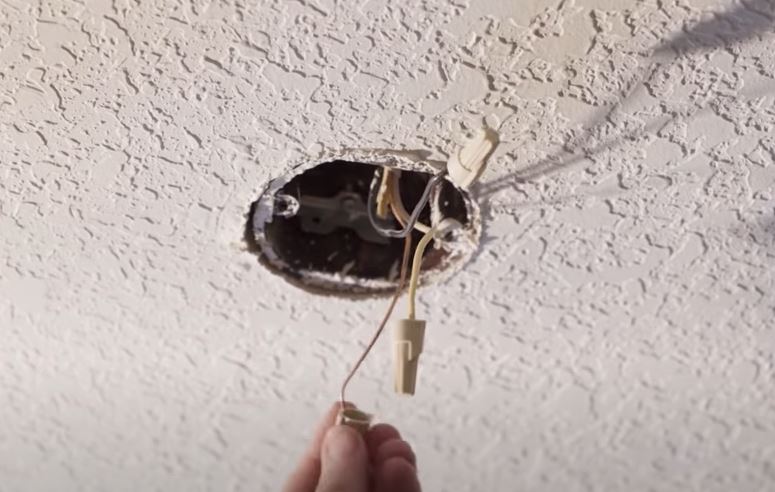
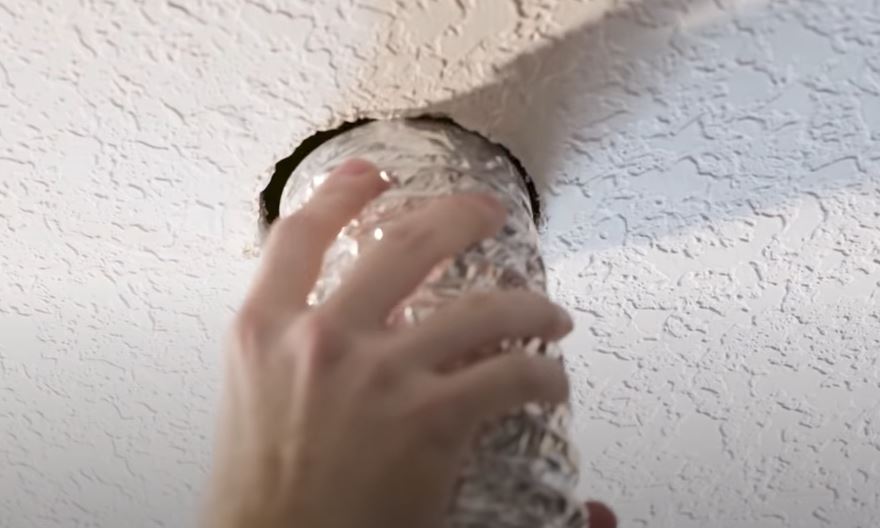
Please keep in mind that messing around with electrical components is potentially dangerous, and you should proceed at your own risk.
You can also exhaust out of the window or into a different room if going into your attic isn’t an option.
Once you setup the exhaust hose, attach it to the exhausting side of the fan.
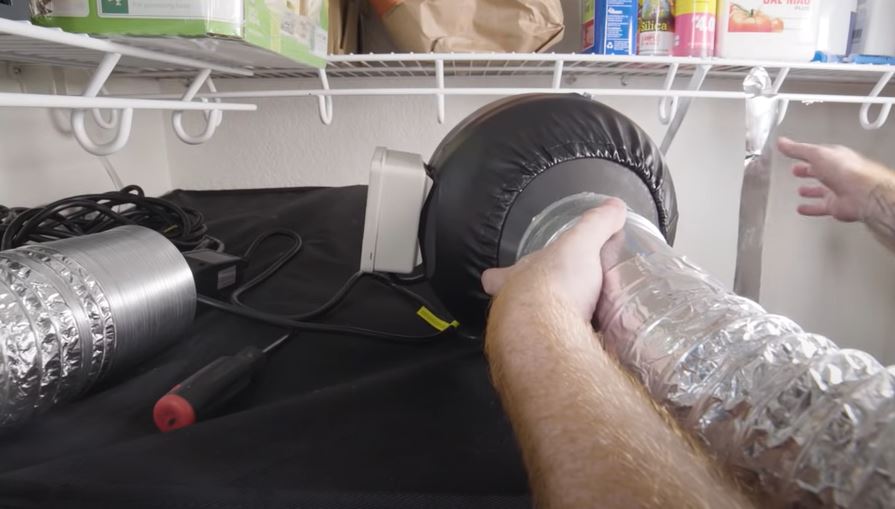
This completes the ventilation portion of your tent build.
Hanging The Light
Next, it’s time to hang your light. After attaching the wire hangers, hang it from the top support pole in the same manner that you hung the carbon filter.
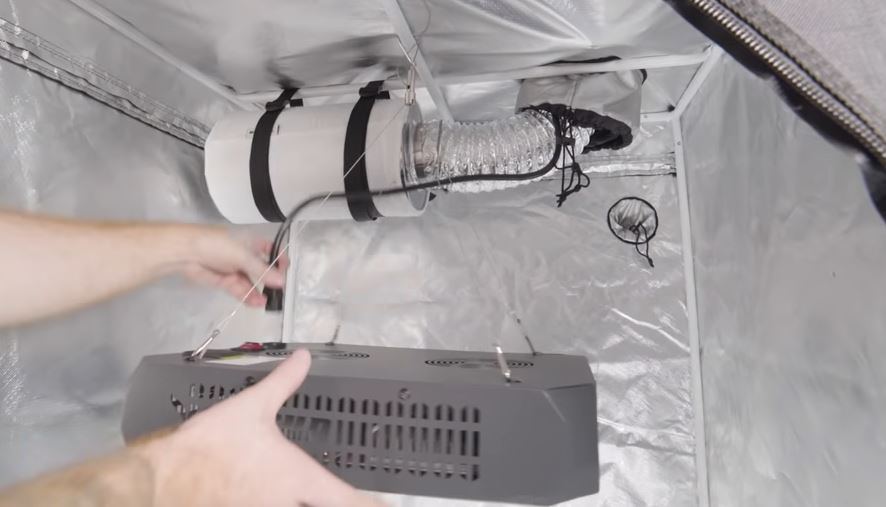
Lastly, plug in the light and place the two air circulating fans inside the tent.
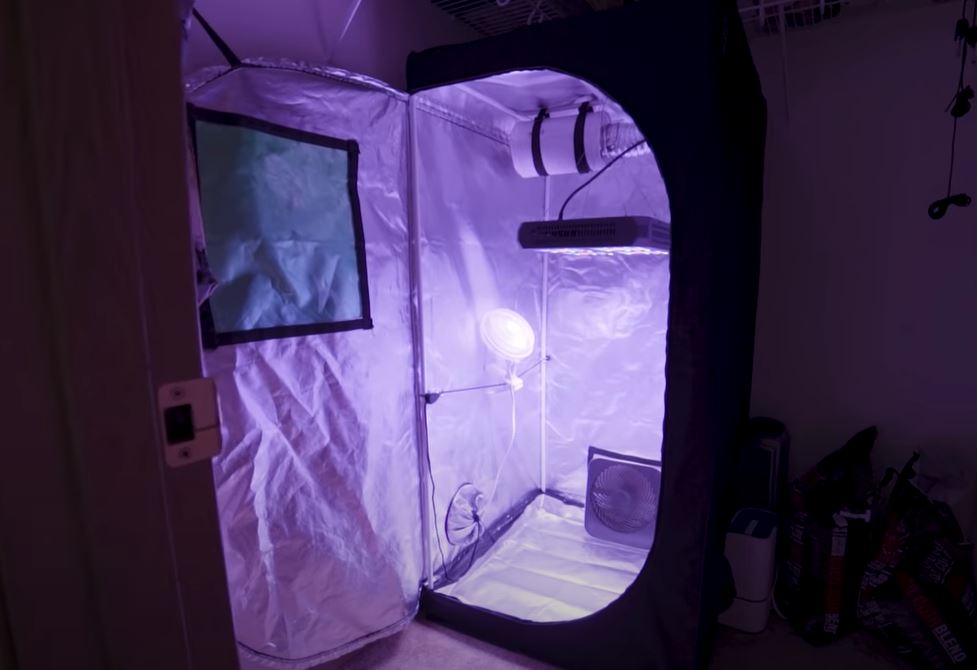
Now turn everything on, and there you have it a $300 budget grow tent that will take you from start to finish.
Conclusion
There are a few things I’d still recommend, like getting a humidifier for veg and a dehumidifier for flower. However, there are other ways of affecting your RH in your grow tent without having to buy more equipment.
I hope you guys enjoyed the article. Check our step-by-step guide on How to Grow Marijuana at Home and methods of how to increase your success.
Links For All The Items Used In This Build
Grow Tent
LED Grow Light
Exhaust Kit
PH Pen
Temp RH Monitor
10″ Fan
6″ Clip On Fan
If you have extra money checkout these useful items.
Leave a Reply
You must be logged in to post a comment.