Rolling a perfect joint is a right of passage for any true cannabis smoker. Although there are countless other options to smoke weed, knowing how to roll a joint is still a necessary skill to master. You cannot always carry a bong or a bubbler with you, and glass breaks all the time. With a joint, you can simply roll it and smoke it anytime. There is a lot of ways to roll a joint. In this article, we will teach you how to roll a joint in 6 easy steps.
Contents
What You Need to Roll a Joint
To roll a joint, you’ll need:
- Half to one gram of your favorite strain
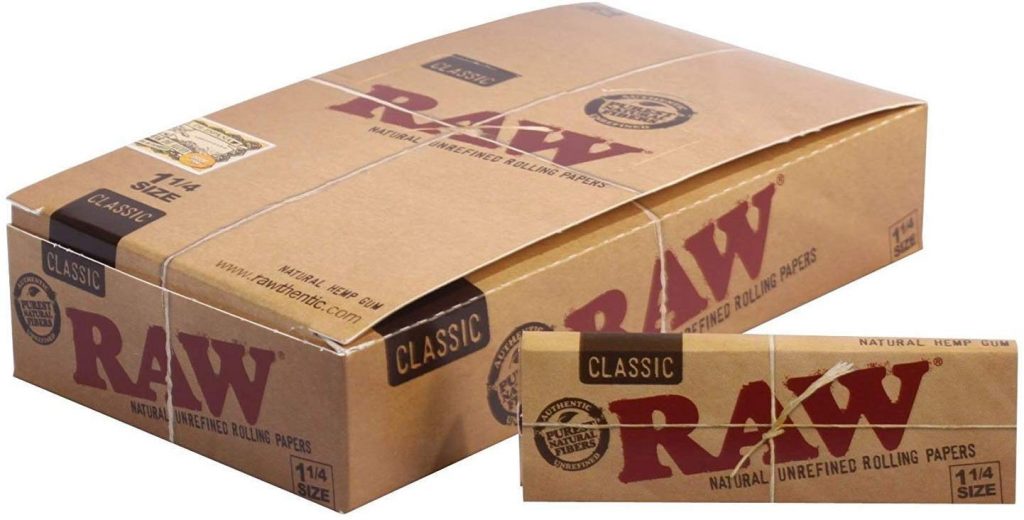
- Rolling papers
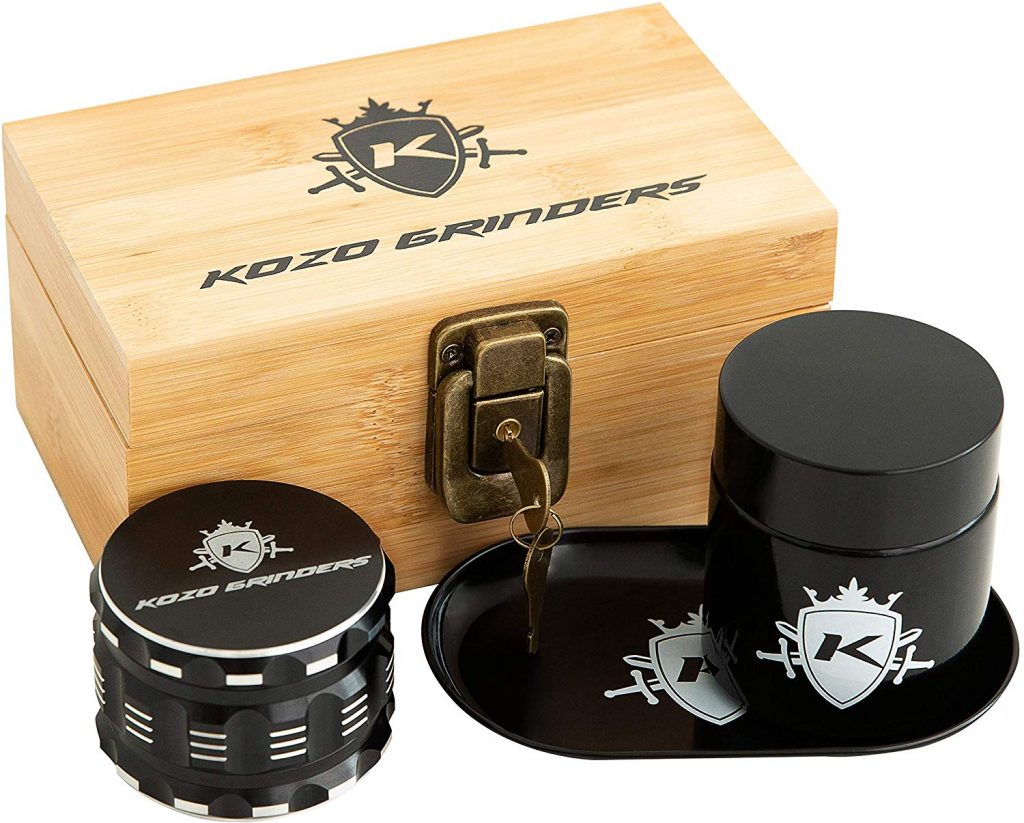
- Cannabis grinder
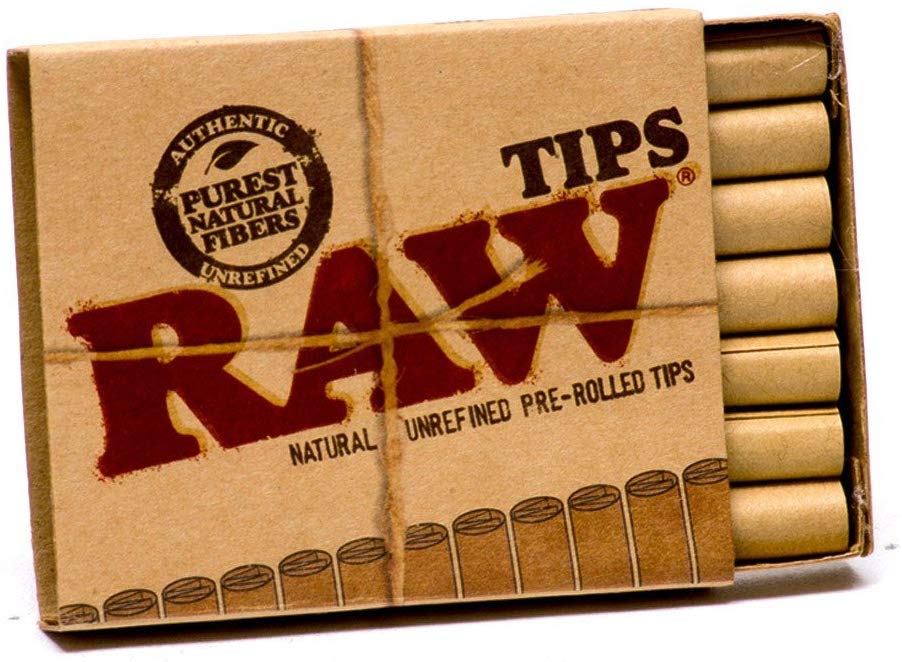
- Crutch
Why the Crutch?
Smoking joint is more enjoyable with a crutch. It is basically a filter tip. You can make a joint filter with thick paper or a piece of cardboard. The filter gives the joint structure and makes it easier to roll. You also don’t get weed in your mount and don’t need a roach clip at the end.
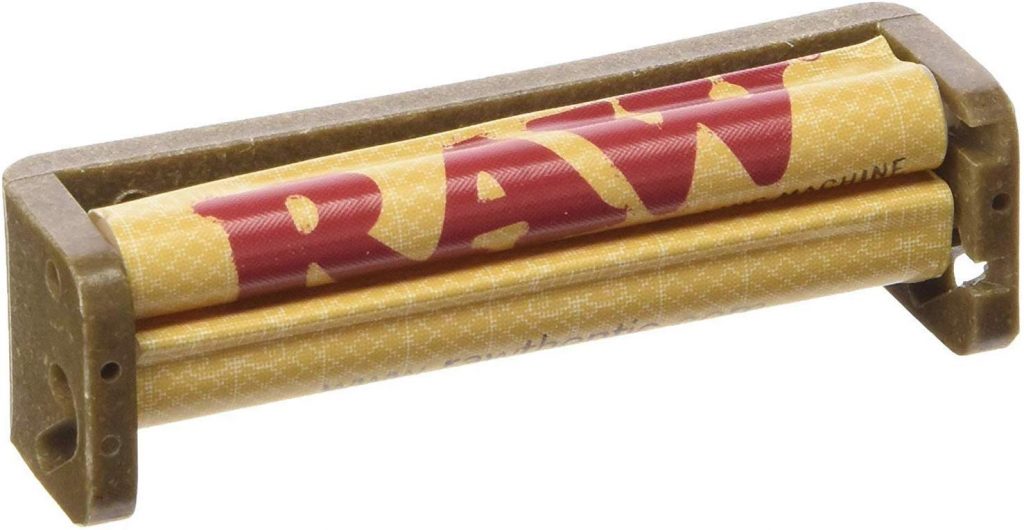
Essentials for Rolling a Joint
Step-by-Step Guide – How to Roll a Joint
Step 1 – Grind The Cannabis
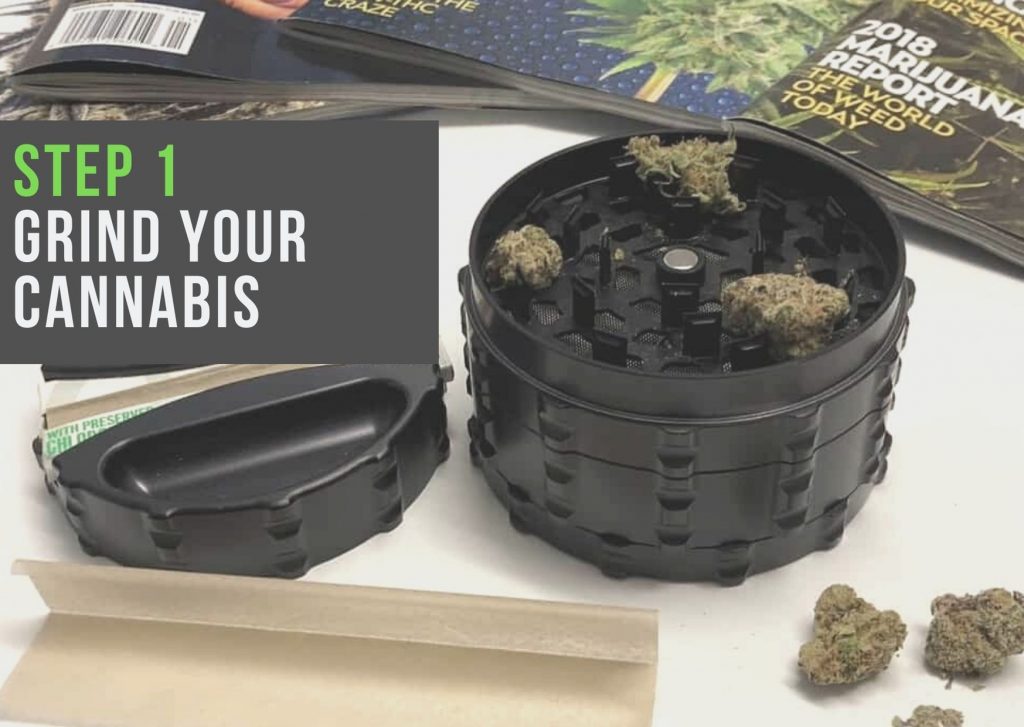
Before rolling a joint, you need to prep your weed. It’s perhaps the most critical part of the joint. For a smooth burn, consistency needs to be even. That’s why it is essential to invest in a good cannabis grinder. Try not to overfill the grinder, or it will clunk up and will be hard to use. Better to grind a couple of times than try to put too much in it at once. You want it to be nicely grounded but not powdery. That way, it will contain the flavor and will burn nicely and evenly. If you have a few chunks in there, then you will have a hard time rolling it, and it won’t burn evenly. If you grind too much, then it will become powdery and will taste harsh. So consistency is the key here.
If you are using your hands to break down the buds, then make sure you remove the lumps or the woody bits.
Step 2 – Make a Crutch
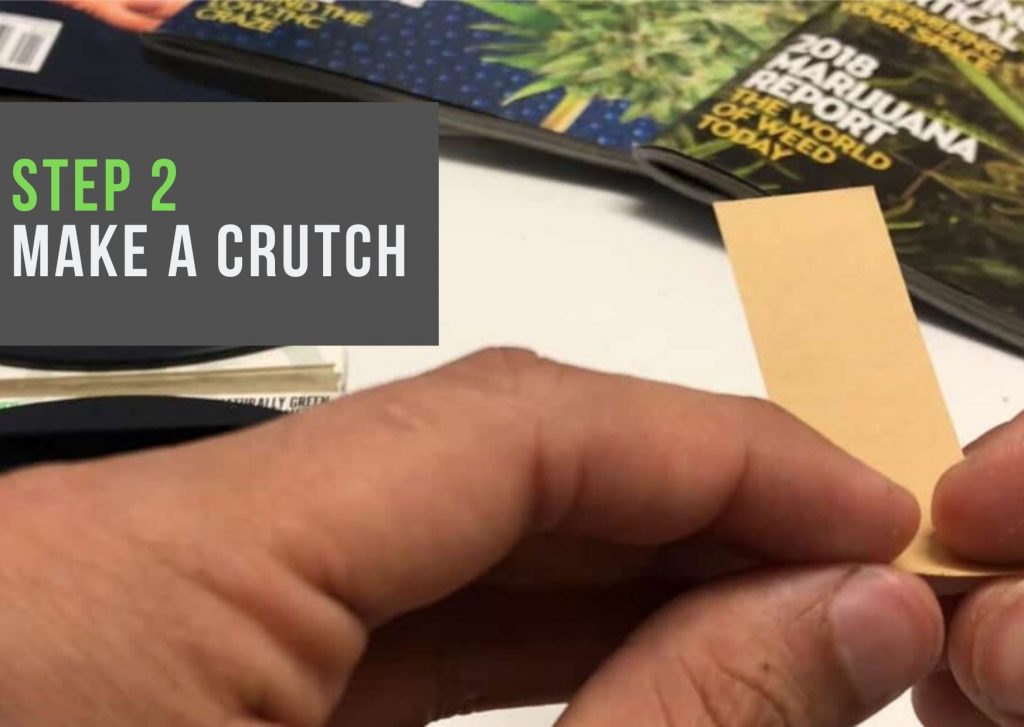
You can make the crutch or filter tip, out of any thick, cardboard-like paper. An excellent choice is to rip off a piece of the rolling paper packaging, or find a business card to use, or use actual filter paper. Roll the crutch into a tight little tube.
Step 3 – Fill the Paper
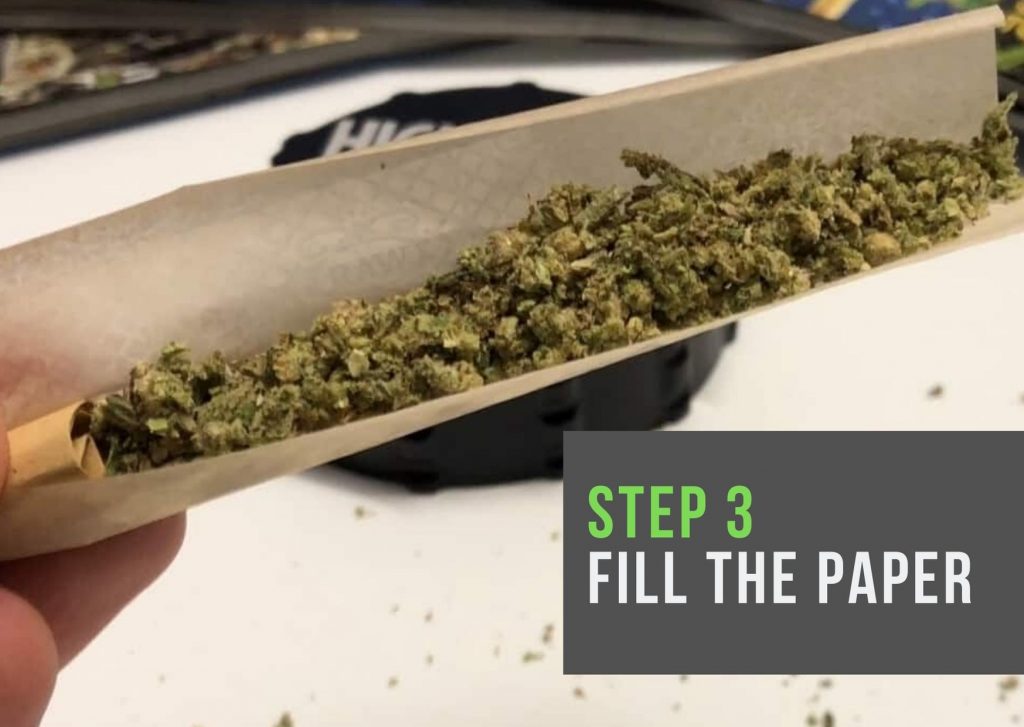
Lay the crutch in the paper with about a quarter of it hanging off of the end. Make sure the paper’s glue strip is facing you. Now put your ground bud in the paper. Spread it out with your fingers until it’s even.
Now you are ready to start rolling.
Step 4 – Roll the Joint
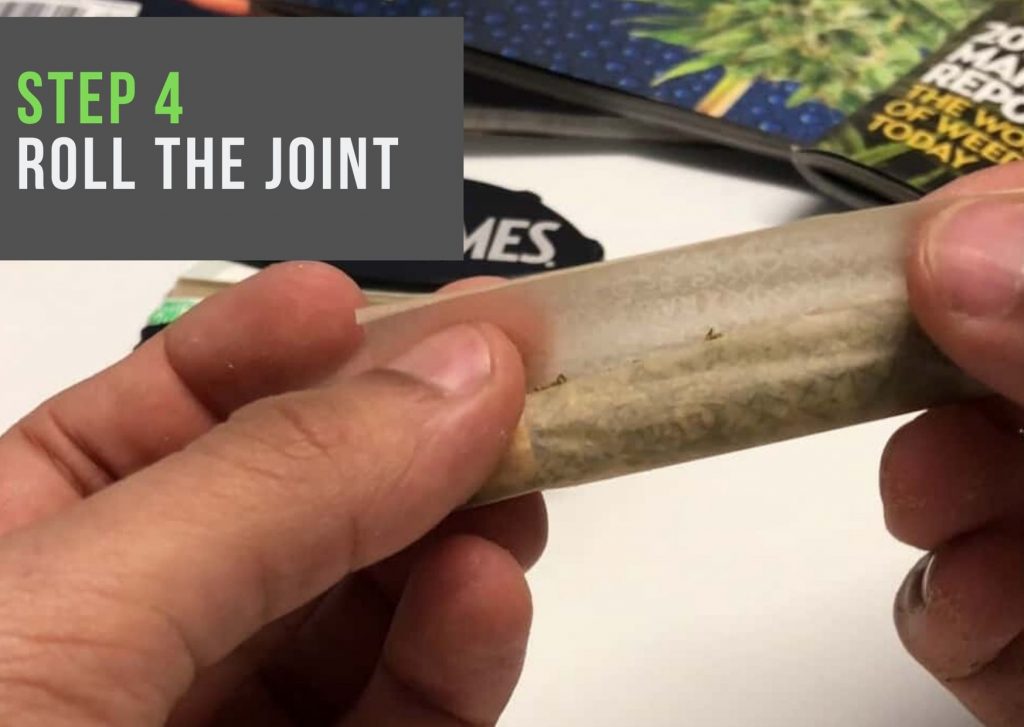
Fold the paper and hold the joint by the crutch. Again make sure the glue strip is at the top. Then with your other hand, pinch the paper together above the bud and gently start rolling, moving evenly towards the center and then outwards. It’s best to let your thumbs do the work while your fingers support the joint itself. Continue rolling evenly back and forth until the bud holds its cylindrical shape on its own.
Make sure that it’s not compressed too tightly, or the joint will be too hard to hit and won’t stay lit.
Step 5 – Tuck and Seal
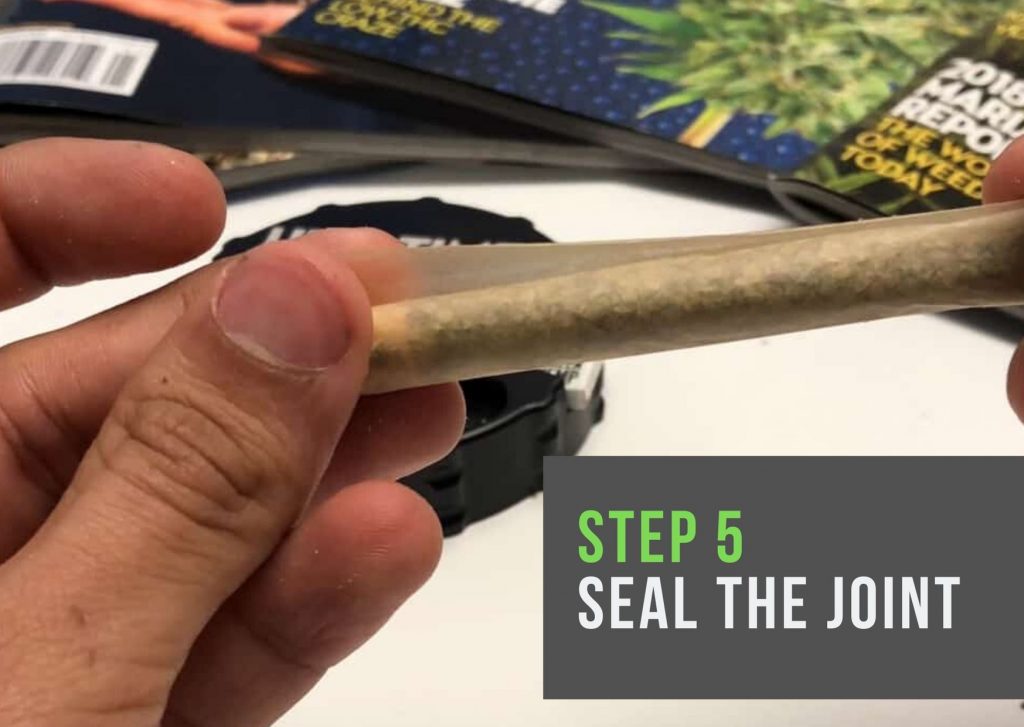
Now comes the hardest part, the tuck. Roll the paper down so that the long end is away from you. Use your thumbs to press the short end of the paper into the long end of the paper. As you press it in with your thumbs, use your pointer finger to guide the short end of the paper under the long one at the same time. Continue rolling until you only have a little bit left. Then lick the paper. Starting at the tip and working your way to the crutch to seal the joint.
Step 6 – Finish it Up
Finish off the joint by packing down the bud in the open end using a poker, like a pen or a pencil. Lastly, push the crutch into the bottom end until it’s flush; this helps to ensure that the material at the base of the joint gets packed tightly.
Light it up and enjoy your creation!
Summary
People have transformed joint rolling into an art. There are many other ways to roll a joint such as cross joints, L joints, tulip joints, etc. We will talk about them in separate articles. You can roll your joints big or small. Get creative!

Leave a Reply
You must be logged in to post a comment.